


How to Make Jam Without the Guesswork
If you’ve ever wondered how to make jam at home, the good news is that it’s much simpler than it looks on a label. You don’t need fancy equipment, and you don’t need to be an experienced cook. All you really need is fruit, sugar, a squeeze of lemon, and a bit of patience. Once you understand the basic idea behind how to make jam, you’ll find yourself making a batch almost every time fruit goes on sale.
What You’ll Need Before You Start
Before diving into how to make jam, gather a few basics: a large, heavy-bottomed pot, a wooden spoon, clean glass jars with lids, and a reliable kitchen thermometer if you have one. You’ll also want fresh fruit, granulated sugar, and lemon juice. None of this needs to be expensive or specialized. The National Center for Home Food Preservation has a helpful overview of safe equipment and jar preparation if you want to double check your setup before your first attempt.
Choosing the Right Fruit
The fruit you choose matters more than most people realize when learning how to make jam. Fruits like strawberries, apples, and citrus naturally contain more pectin, the substance that helps jam set. Softer fruits like peaches or cherries may need a little extra help, usually in the form of added pectin or a longer cooking time. Slightly underripe fruit actually works better than fully ripe fruit, since it holds more natural pectin and gives your jam a better texture.
The Basic Process
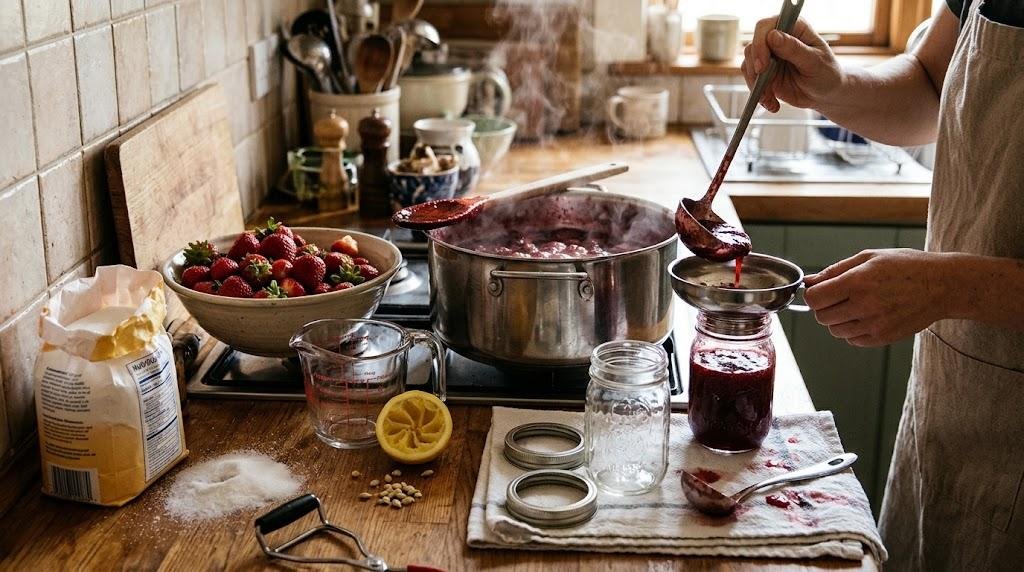
Once your fruit is washed, chopped, and ready, the actual process of how to make jam comes down to four steps: cooking the fruit, adding sugar, boiling until it thickens, and jarring it while hot. Start by simmering the fruit gently until it softens and releases its juices. Then stir in the sugar and a splash of lemon juice, and bring the mixture to a rolling boil. Keep stirring so nothing sticks or burns on the bottom of the pot. This stage usually takes somewhere between ten and twenty minutes, depending on the fruit and the batch size.
Knowing When It’s Set
This is the part of how to make jam that trips up most beginners. Jam is ready when it reaches what’s called the “setting point.” A simple way to test this at home is the cold plate method: put a small plate in the freezer beforehand, then drop a spoonful of hot jam onto it. Wait thirty seconds, then push the jam with your finger. If it wrinkles and holds its shape rather than running back together, it’s done. If not, keep boiling for a few more minutes and test again.
Jarring and Storing Your Jam
Once you’ve got the technique of how to make jam down, storage is the next piece. Pour the hot jam into clean, sterilized jars, leaving a small gap at the top, and seal the lids while everything is still hot. This helps create a seal that keeps the jam fresh for months in a cool, dark cupboard. Once opened, store the jar in the fridge and use it within a few weeks. If you’re new to canning safety, the USDA’s guide to home canning is worth a quick read before your first batch.
Common Mistakes to Avoid
Even once you understand how to make jam in theory, a few small mistakes can throw off the results. Using too much fruit relative to sugar can stop the jam from setting properly. Not stirring enough during the boil can cause burning or uneven thickening. And using jars that aren’t properly cleaned can shorten how long your jam lasts. None of these mistakes are serious, they’re just easy to fix once you know what to look for.
A Few Tips for Better Results
After a batch or two, you’ll start to notice what works best for your taste. Some people like their jam chunkier, with visible pieces of fruit, while others prefer it smooth. You can control this simply by how long and how finely you chop or mash the fruit before cooking. Adding a pinch of cinnamon or a few basil leaves can also give a familiar jam recipe a new twist once you’re comfortable with the basics of how to make jam.
Final Thoughts
Learning how to make jam is one of those kitchen skills that pays off again and again. Once you’ve made it a couple of times, it stops feeling like a recipe and starts feeling like a habit, something you do whenever fruit is in season or a little past its best. Keep a few jars on hand, and you’ll always have something homemade to spread, gift, or bake with.


